Cleaning vinyl records at home has a reputation for being fussy, but the best way to clean vinyl records at home is genuinely simple, it’s the shortcuts and folk remedies that cause damage, not cleaning itself. This is how to clean vinyl records safely, without any specialist equipment, the same method used to clean vinyl records safely whether it’s a single favourite or a whole shelf.
How to clean vinyl records at home: before every play
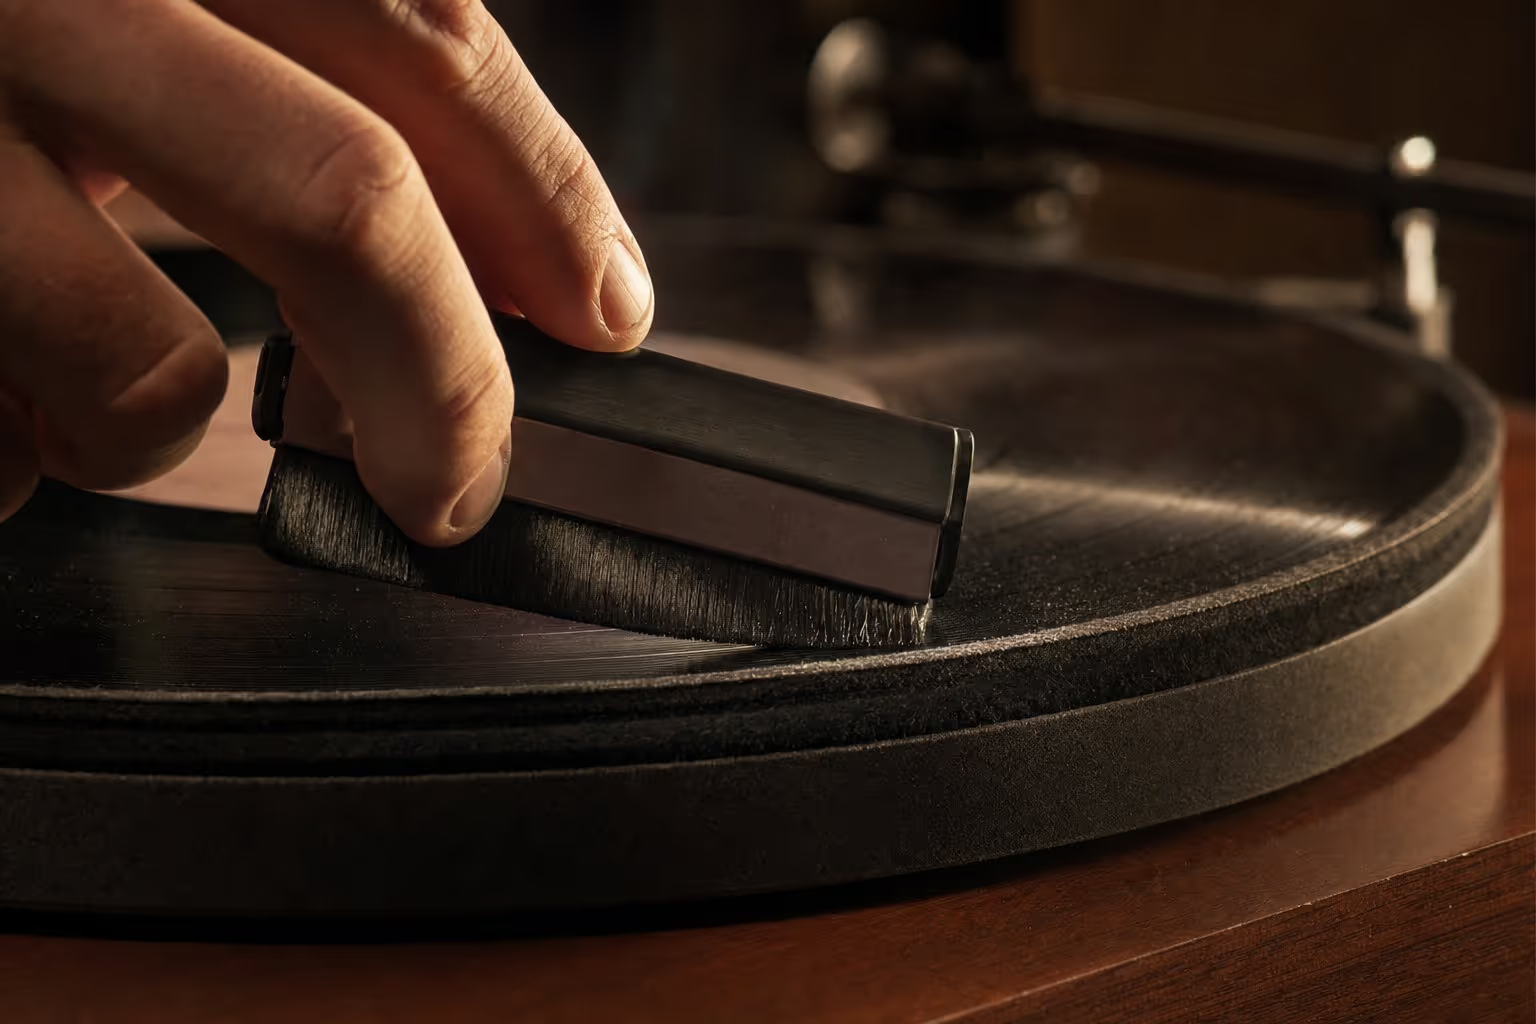
This is genuinely how to clean vinyl records before a single play matters most: a carbon-fibre or velvet anti-static brush, used with light pressure in the direction of the groove (not across it) immediately before playing, removes loose dust that would otherwise get pressed into the groove by the stylus. This is the single most useful habit for keeping records sounding good, and it takes seconds. Avoid using a dry cloth for this, even a soft one can drag loose dust particles across the surface rather than lifting them away, adding fine scratches over repeated use.
A proper wet clean, step by step
For records with visible grime, fingerprints, or audible surface noise that a dry brush doesn’t fix:
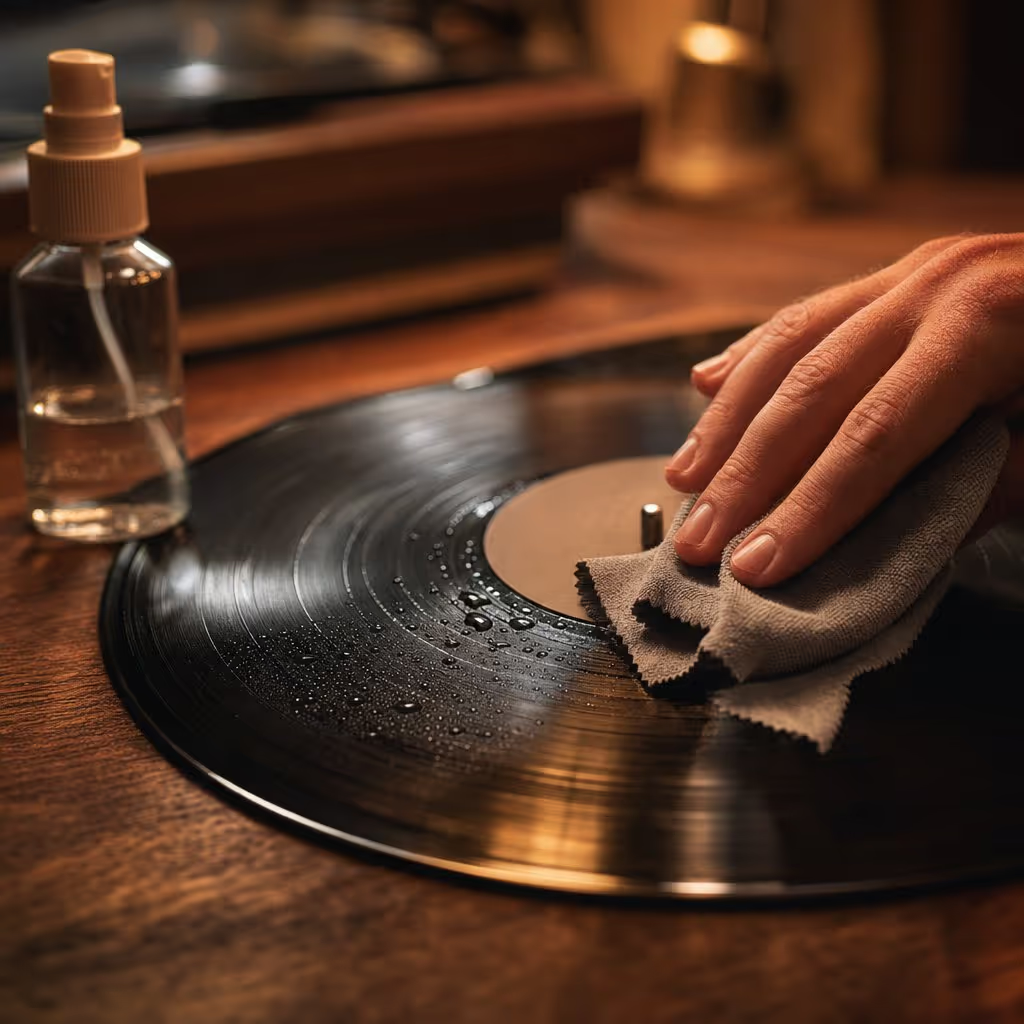
- Use distilled water, not tap water, tap water’s dissolved minerals can leave their own residue as it dries.
- If using a soap solution rather than a dedicated record-cleaning fluid, use a tiny amount of a genuinely mild, unscented dish soap, heavily diluted. Avoid anything scented, antibacterial, or marketed as “moisturising”, the added ingredients that make it pleasant for dishes are exactly the kind of residue you don’t want in a groove.
- Apply with a genuine microfibre cloth (never paper towel, tissue, or a regular cotton cloth), working gently in the direction of the groove.
- Rinse with a separate, clean microfibre cloth dampened with distilled water only, to lift any remaining solution.
- Air-dry fully, upright, before returning the record to its sleeve, sleeving a damp record risks mould and sticking.
What actually damages vinyl during cleaning
Two habits cause most cleaning-related damage: wiping across the groove rather than along it (this drags debris through the groove instead of lifting it out), and using anything abrasive at a microscopic level, paper towels, tissues, and even some “soft” regular cloths have enough texture to add fine scratches over repeated cleanings that a proper microfibre cloth doesn’t.
When to consider a machine
Cleaning vinyl records at home has real limits, though. For a large or heavily neglected collection, a dedicated record-cleaning machine (manual vacuum types or ultrasonic cleaners) does a more thorough job with less handling risk per record than repeated manual cleaning, since it removes the fluid completely rather than relying on a cloth wipe. For an occasional clean of a modest collection, the manual method above is entirely adequate and considerably cheaper.
Don’t forget the stylus
A dirty record isn’t the only source of surface noise, a stylus that’s picked up dust, lint or a build-up of residue from records can mistrack, add noise, and in extreme cases damage the next record it plays. A soft stylus brush, used gently from back to front (the same direction the stylus travels through a groove, never side to side), clears loose debris in seconds and is worth doing regularly alongside a pre-play record brush. For a stylus that’s picked up stickier residue, a dedicated stylus-cleaning gel or fluid, never a liquid meant for cleaning the record itself, is the safer option, since the stylus and cantilever are far more delicate and expensive to damage than the record surface.
Storage matters as much as cleaning
A record cleaned properly and then returned to a worn-out or dusty original paper sleeve will pick up new debris quickly. Anti-static poly-lined inner sleeves are a cheap, one-time upgrade that meaningfully extends the time between cleanings, since they shed far less loose fibre onto the record surface than plain paper.
Secondhand records: what cleaning can and can’t fix
Secondhand and charity-shop finds are where cleaning does the most obvious good, but it’s worth knowing its limits before buying. Surface dirt, fingerprint oils and light dust genuinely clean up well with the method above, often transforming a record that looked and sounded rough into something perfectly playable. What cleaning can’t fix is physical damage: deep scratches that catch a fingernail, visible warping, or the fine, even haze of “groove wear” from decades of being played on a worn stylus, which shows up as a persistent background hiss no amount of cleaning removes because the damage is physically carved into the vinyl rather than sitting on top of it. Tilting a record under a bright light before buying secondhand is a quick way to spot both scratches and warping, and it’s worth doing before assuming a grubby-looking record will clean up fine, most will, but not all.
The best way to clean vinyl records, summarised
If you take one thing from this guide: the best way to clean vinyl records at home is a dry anti-static brush before every play, plus an occasional distilled-water wet clean only when it’s actually needed, never tap water, never paper towels, never scented soap. That’s genuinely how to clean vinyl records at home without overcomplicating it or risking the vinyl.